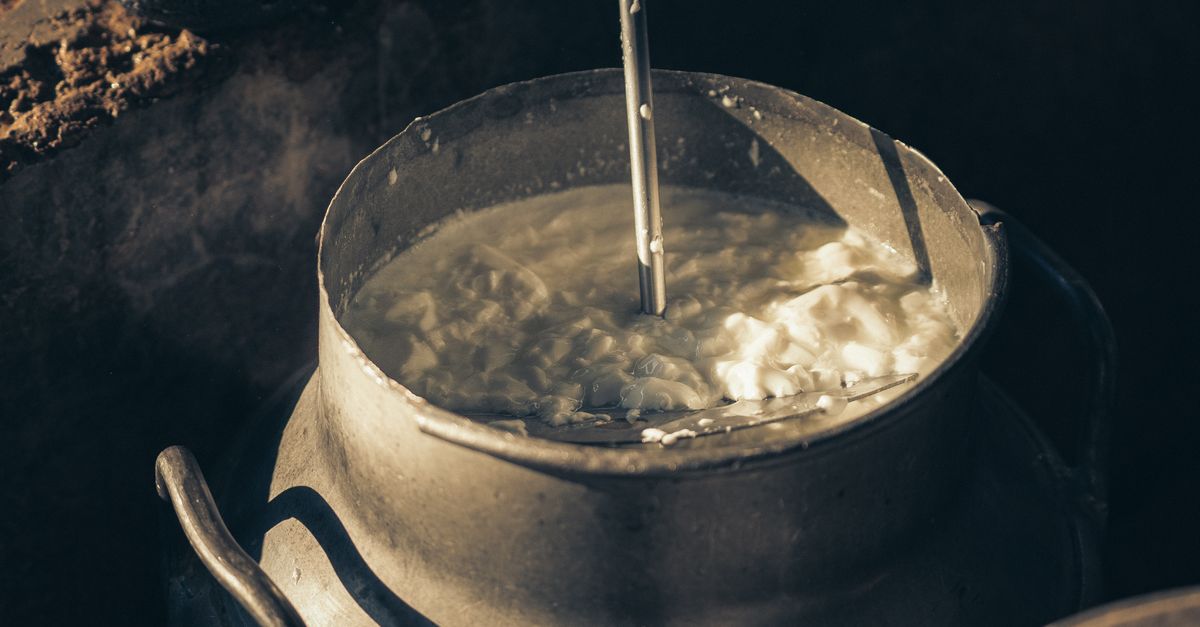
Why Your Homemade Yogurt Isn't Thick and Creamy (And The Pro Secrets That Guarantee Perfect Texture Every Time)
When I first started making yogurt at home, I envisioned luscious, spoon-standing-up, Greek-style goodness. What I consistently got, however, was a watery, often gritty, lukewarm milk-slurry that vaguely resembled yogurt but certainly didn’t feel like a luxurious breakfast. It was frustrating, wasteful, and frankly, a bit disheartening. Every YouTube video made it look so easy – just milk and culture, right? But the reality for most home yogurt makers, including my past self, is far more complex than a simple two-ingredient recipe. The mistake I see most often isn’t a lack of effort, but a lack of understanding the subtle, yet critical, scientific principles at play. Without these ‘pro secrets,’ you’re essentially leaving your yogurt’s texture to chance, and trust me, chance usually delivers a runny mess.
Key Takeaways
- Don’t skimp on milk solids: Using higher-protein milk (like ultra-filtered) or adding dry milk powder is the most impactful step for thickness.
- Maintain precise temperatures: Heating milk to 180-185°F denatures proteins, and incubating at a consistent 105-115°F is crucial for bacterial activity.
- Choose the right starter: Fresh, high-quality live cultures from store-bought yogurt or a dedicated starter produce better, thicker results.
- Give it time (and stillness): Incubate for at least 8-12 hours, and resist the urge to disturb the yogurt during this critical setting phase.
The Protein Problem: Why Skimping on Milk Solids Leads to Runny Yogurt
The single biggest culprit behind runny homemade yogurt is often insufficient milk solids, primarily protein. Think of it like trying to build a brick wall with too little mortar; it simply won’t hold together. Regular pasteurized milk, while perfectly fine for drinking, often lacks the concentrated protein necessary to form a firm, cohesive yogurt curd. When I first started, I assumed all milk was created equal for yogurt making, and that was my first major downfall. My yogurt was always thin, even after hours of incubation.
What changed everything for me was a trip to a local dairy where a cheesemaker patiently explained the role of protein in curd formation. He emphasized that the more protein available, the stronger and thicker the curd. This isn’t just about fat content; it’s specifically about casein proteins that denature and coagulate during the heating and fermentation process. If your milk doesn’t have enough of these, you’re fighting an uphill battle.
What Actually Works: There are two main ways to significantly boost the protein content: use ultra-filtered milk or add dry milk powder. Ultra-filtered milk (often labeled ‘protein-enriched’ or similar) has already had some water removed, concentrating the proteins. It often yields incredibly thick yogurt with minimal effort. My personal preference, however, is to use whole milk (not skim!) and fortify it with 1/2 cup of non-fat dry milk powder per half-gallon. This simple addition increases the solids without significantly altering the flavor or adding too much extra fat. It’s an inexpensive game-changer. My yogurt went from soup to gloriously scoopable almost overnight. Remember, you’re aiming for a protein-rich environment for your cultures to thrive in and build that creamy matrix.
Temperature Precision: The Unsung Hero of Texture
Many beginner recipes oversimplify the temperature steps, often leading to inconsistent results. There are two critical temperature phases in yogurt making: heating the milk and incubating the milk. Both require precision, and straying outside the optimal range can severely impact the final texture.
My early attempts involved eyeballing temperatures, or just waiting for the milk to look hot enough. This led to either scorched milk or milk that hadn’t reached the crucial temperature for protein denaturation. Then, during incubation, I’d rely on inconsistent methods like wrapping a pot in towels, which resulted in significant temperature drops over time, halting bacterial activity and leaving me with a thin, sour-ish product.
What Actually Works: For the heating phase, bring your milk (with added milk powder, if using) slowly to 180-185°F (82-85°C) and hold it there for 10-20 minutes. Do not boil. This high heat denatures the whey proteins, preventing them from interfering with the casein’s ability to form a strong curd, and it also kills off undesirable bacteria. A good quality candy thermometer or instant-read thermometer is non-negotiable here. After heating, cool the milk down to the incubation temperature of 105-115°F (40-46°C). This is the sweet spot for thermophilic yogurt cultures. Below 100°F, they slow down; above 120°F, they die. A reliable incubation method is key: an instant pot with a yogurt function, a dedicated yogurt maker, or an oven with a ‘proof’ setting are ideal. If using an oven, place your covered pot in the oven with the light on (which typically maintains around 100-110°F), but always verify with a thermometer inside the oven. Consistency is paramount for those little bacteria to work their magic.
The Starter’s Secret: Fresh, Potent Cultures Matter More Than You Think
The quality and freshness of your yogurt starter culture are foundational to both flavor and texture. Many beginners make the mistake of using an old, nearly-expired container of yogurt from the back of the fridge, or worse, a tiny spoonful from a previous batch that has weakened over time. I certainly did this, wondering why my yogurt tasted…off, and was so thin.
My turning point was realizing that a powerful, active culture is like a strong army ready to convert lactose into lactic acid efficiently. A weak army simply won’t get the job done, leading to slow fermentation, insufficient acid production, and a fragile, runny curd. The type of bacteria also matters. Look for strains like Lactobacillus bulgaricus and Streptococcus thermophilus, which are common in many commercial yogurts and known for producing a good texture.
What Actually Works: Always start with fresh, plain, unflavored yogurt containing live active cultures for your first batch. Check the expiration date – the fresher, the better. You only need 1-2 tablespoons per quart of milk. Alternatively, invest in a dedicated freeze-dried yogurt starter culture. These are specifically formulated for yogurt making, are often more robust, and can be ‘re-cultured’ multiple times (though their potency will eventually wane). If you’re using a previous homemade batch as a starter, try to use it within 3-5 days of making it, and never from your very last spoonful. The strength of the culture diminishes with each generation, so refreshing with a new store-bought starter every 5-7 batches is a practice I adopted that significantly improved consistency.
The Patience Play: Time, Stillness, and the Magic of Cooling
Once you’ve inoculated your milk and set it to incubate, the hardest part for most eager home cooks is waiting. Impatience, often manifested as peeking or disturbing the yogurt, can collapse the delicate curd structure that is forming, resulting in a thin, inconsistent texture. My early attempts frequently involved lifting the lid ‘just to check’ or even trying to stir it slightly, convinced it wasn’t working. This was a fatal error.
The final cooling process is also frequently overlooked, yet it’s essential for the yogurt to fully set and achieve its maximum thickness.
What Actually Works: Allow your yogurt to incubate undisturbed for at least 8-12 hours. While some cultures work faster, giving it ample time ensures full fermentation and a strong curd. For an extra thick, tangy yogurt, I sometimes go up to 14-16 hours. Resist the urge to peek or move the container during this period. The bacteria are busy building a network, and any agitation will disrupt it. Once incubation is complete, immediately transfer the yogurt (still in its container, covered) to the refrigerator for at least 4-6 hours, or ideally overnight. The cold temperature stops the fermentation process (preventing excessive sourness) and allows the protein network to fully firm up. This cooling step is where the final ‘set’ truly happens. After chilling, and only after, is it safe to stir, strain (if you want Greek yogurt), or add flavorings. The patience pays off with a superior texture you can truly appreciate.
Frequently Asked Questions
Q: Can I use skim milk or 1% milk to make thick yogurt?
A: While technically possible, it’s significantly harder to get a truly thick yogurt with low-fat milk due to less protein and fat. You would need to add substantially more dry milk powder (e.g., up to a full cup per half-gallon) or use a specific ultra-filtered, high-protein skim milk. In my experience, whole milk with added dry milk powder yields the best and most consistent results for a creamy texture, as the fat also contributes to richness.
Q: My yogurt came out gritty. What went wrong?
A: Grittiness is often a sign that the dry milk powder didn’t fully dissolve, or the milk wasn’t heated thoroughly enough to fully denature all the proteins. Ensure you whisk the milk powder into the cold milk completely before heating, and heat it slowly while stirring occasionally to prevent scorching and ensure even heating to the 180-185°F range. Holding it at that temperature for a bit longer (15-20 minutes) can also help.
Q: My yogurt is too sour. How can I fix this?
A: Excessive sourness typically means the yogurt fermented for too long, or at too high an incubation temperature. To prevent this, reduce your incubation time (try 8-10 hours) or ensure your incubation temperature is stable at the lower end of the recommended range (105-110°F). Immediately chilling the yogurt once it reaches your desired tanginess is crucial to halt fermentation.
Q: Can I use flavored yogurt as a starter?
A: It’s best to avoid flavored yogurts as a starter. The added sugars, fruit purees, and other ingredients can interfere with the culture’s activity and introduce unwanted flavors or colors to your plain batch. Always opt for plain, unflavored yogurt with live active cultures for the most reliable results.
Q: How do I make Greek yogurt from my homemade batch?
A: To make Greek yogurt, simply strain your finished, chilled homemade yogurt. Line a colander with cheesecloth or a clean kitchen towel, place it over a bowl, and pour in your yogurt. Refrigerate and let it drain for 2-4 hours (or longer, for an even thicker consistency). The liquid that drains off is whey, which can be used in smoothies or baking. The longer you strain, the thicker your Greek yogurt will be.
Making truly thick and creamy homemade yogurt moves beyond just following basic steps; it requires an understanding of the subtle science involved. By focusing on boosting milk solids, precise temperature control, using potent cultures, and practicing patience during fermentation and cooling, you’ll consistently achieve that luxurious, spoon-standing-up texture you’ve been dreaming of. It transformed my yogurt game from frustrating failures to satisfying success, and it can do the same for yours. Your breakfast bowl (and your taste buds) will thank you.
Written by Emily Chen
Well-being & Relationships
A community advocate who understands the nuances of balancing personal goals with social connections and responsibilities.
You Might Also Like
Why Your Homemade Sauces Are Thin and Lackluster (And The Pro Secrets for Rich, Velvety Perfection Every Time)
Transform watery, bland sauces into rich, velvety masterpieces. Discover the pro secrets chefs use for incredible depth and texture.

Why Your Homemade Pizza Crust Lacks That Perfect Chew (And The Simple Pro-Secrets That Deliver Pizzeria-Quality Results)
Stop making bland, cracker-like pizza crusts. Discover the pro secrets to a chewy, flavorful homemade pizza that rivals your favorite pizzeria.

Why Your Homemade Pizza is Bland (And The Flavor Secrets That Changed Everything For Me)
Discover why your homemade pizza lacks flavor and the simple, impactful techniques that deliver pizzeria-quality taste every time.