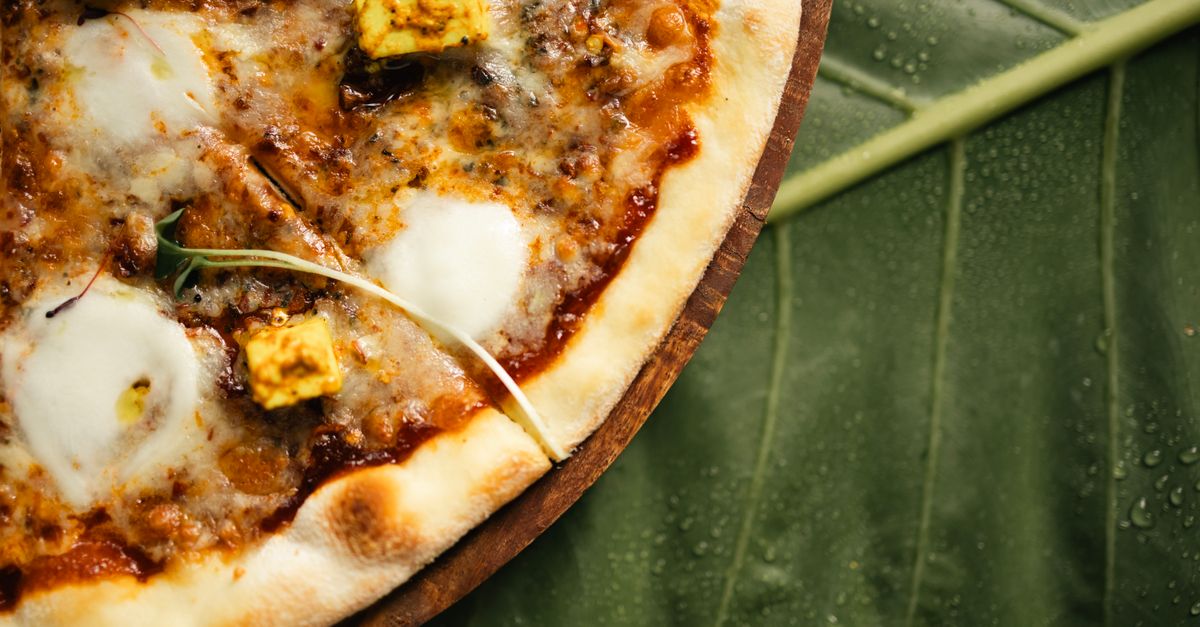
Why Your Homemade Pizza Crust Lacks Flavor (And The Simple Shifts That Deliver Pizzeria-Quality Taste)
Every weekend, for years, I tried to perfect my homemade pizza. I’d spend hours on the sauce, meticulously selecting toppings, and getting my oven as hot as it would go. Yet, the crust? It was… fine. Edible. A vehicle for the good stuff, but never the star. It lacked that depth, that subtle tang, that satisfying chew you get from your favorite local pizzeria. I’d tried different flours, varying hydration levels, even expensive pizza stones. Still, the results were consistently underwhelming in one crucial aspect: flavor.
I always assumed great pizza crust was all about the toppings and a super-hot oven. The dough was just… dough, right? My thinking was fundamentally flawed. The crust isn’t just a foundation; it’s an integral part of the experience, contributing texture, aroma, and, most importantly, complex flavor. The mistake I see most often is people treating pizza dough like any other bread dough, rushing it, or overlooking key ingredients that transform it from bland to brilliant. What changed everything for me was understanding that time and fermentation are non-negotiable for true pizzeria-quality flavor.
Key Takeaways
- Embrace cold fermentation for at least 24-48 hours to develop complex flavors.
- Use good quality flour and understand its protein content for optimal structure and taste.
- Master proper salt distribution and consider adding a touch of sugar for balance.
- Incorporate a sourdough starter or preferment for unparalleled depth and tang.
- Handle your dough gently during shaping to preserve the gas pockets that create airy texture.
The Overlooked Power of Slow Fermentation (Time is Flavor)
In my early pizza-making days, I’d mix a dough, let it rise for an hour or two at room temperature, and then bake. The result was a pale, somewhat dense crust with very little character. It was fine, but it wasn’t pizza. The single most impactful change I made was adopting cold fermentation. This isn’t just a fancy technique; it’s a non-negotiable for unlocking deep, complex flavors.
Here’s the science: when dough ferments slowly in the refrigerator (at 40°F or 4°C), the yeast works at a much slower pace. This extended period allows enzymes in the flour to break down complex carbohydrates into simpler sugars, which the yeast then converts into a wider array of aromatic compounds. Think of it like aging a fine wine or slow-cooking a stew – time develops richness.
My process now: I mix my dough in the evening, do a couple of stretch-and-folds over the next hour, then immediately pop it into the fridge in an oiled, airtight container. I aim for at least 24 hours, but 48-72 hours is where the magic truly happens. You’ll notice the dough becomes more pliable, easier to stretch, and develops a slightly golden hue. When you finally pull it out, the aroma itself is a preview of the flavor to come – yeasty, slightly sweet, with a subtle tang. This slow process develops organic acids, esters, and alcohols that simply don’t have time to form in a quick, warm rise. It’s the difference between a quick-bread and a sourdough loaf; one is merely functional, the other is deeply flavorful.
Flour Matters More Than You Think (Beyond ‘All-Purpose’)
For a long time, I just grabbed whatever all-purpose flour was on sale. While perfectly adequate for many baking tasks, it’s not optimized for pizza. Pizza crust needs a specific balance of protein to develop the right structure and chew, which directly impacts how flavor is perceived.
The game-changer for me was using a high-quality bread flour, or even better, a “00” flour. Bread flour typically has a protein content of 12-14%, which means it develops more gluten. Gluten is the network that traps gases produced by the yeast, giving your crust its airy, chewy texture and those desirable large holes (alveoli) in the crumb. More importantly, this structure holds onto the subtle flavors developed during fermentation.
“00” flour, a finely milled Italian flour, is often touted for pizza. While it has a lower protein content than many American bread flours (around 10-12%), its unique milling process results in a very fine, soft texture that creates a delicate, crispy-chewy crust. The key isn’t just protein content, but the quality of the starch and how it interacts during fermentation. Experiment with different brands and types. I’ve found a blend of high-protein bread flour (for chew) and a small percentage of whole wheat flour (for nutty flavor and texture) can also be incredibly effective. Don’t be afraid to invest a little more in your flour – it’s the foundation of your crust’s character.
The Salt & Sugar Balancing Act
It sounds obvious, but many home bakers underestimate the precise roles of salt and sugar in pizza dough, beyond basic seasoning. In my experience, haphazardly adding salt or sugar leads to either blandness or an unbalanced flavor profile.
Salt (typically 1.5% to 2% of the flour weight) is crucial. It doesn’t just add flavor; it strengthens the gluten network, regulates yeast activity (preventing over-fermentation), and enhances the overall taste perception of all other ingredients. Too little salt, and your crust will taste flat and boring, even with perfect fermentation. Distribute it evenly through the flour before adding water.
Sugar (a pinch, around 0.5% to 1% of the flour weight), while optional, can significantly improve flavor and crust color. The yeast consumes some of this sugar, but residual sugar helps with the Maillard reaction during baking, leading to a beautifully browned and slightly crispier crust. It also provides a subtle sweetness that balances the savory toppings and the tang from fermentation. I’m not talking about making a sweet pizza dough, but rather adding just enough to nudge the flavor profile. A common mistake is using too much, which can make the crust sickly sweet and cause it to burn too quickly.
Beyond basic white sugar, a small amount of honey or malt barley syrup can also contribute unique, rich notes and aid browning. These complex sugars offer a different kind of sweetness that plays well with the savory elements of pizza.
Introduce a Preferment or Sourdough (The Flavor Accelerators)
Want to skip some of the multi-day cold ferment without sacrificing all the flavor? Or simply want to amplify that deep, tangy, complex taste? This is where preferments or a sourdough starter come into play.
A preferment (like a poolish or biga) is a portion of your dough made ahead of time and allowed to ferment for several hours (or overnight) before being incorporated into the final dough. It kickstarts flavor development, much like a mini-cold ferment, but at room temperature. A poolish, made with equal parts flour and water plus a tiny pinch of yeast, creates a very active, bubbly mixture with a lovely aroma. A biga, a stiffer preferment, yields a chewier crust with nutty notes.
For the absolute peak of flavor, nothing beats a sourdough starter. This live culture of wild yeasts and bacteria introduces a whole spectrum of organic acids (lactic and acetic) that provide that characteristic tangy, complex flavor and incredibly open, airy crumb. It requires a bit more commitment to maintain a starter, but the results for pizza are unparalleled. My sourdough pizza crust is almost always the star of the show now, even without elaborate toppings. It’s got a crisp exterior, a tender, airy interior, and a deep, satisfying flavor that complements everything else on the pizza.
Mind Your Mixing and Handling (The Delicate Balance)
Finally, even with the best ingredients and longest fermentation, poor mixing and handling can ruin your crust’s potential. Overmixing, especially in a stand mixer, can develop gluten too quickly and make the dough tough. Undermixing leaves a weak, crumbly dough.
My approach: I start with a relatively short mix (about 5-7 minutes in a stand mixer on low speed) until the ingredients are just combined and the dough starts to pull away from the sides. Then, I rely on stretch-and-folds during the first hour or two of bulk fermentation. This gentle technique develops gluten without overworking the dough, preserving its delicate structure and allowing gas pockets to form naturally. Over a few rounds (every 20-30 minutes), you’ll feel the dough transform from shaggy to smooth and elastic.
When it comes to shaping, resist the urge to use a rolling pin unless you want a flat, dense crust. A rolling pin forces out all the precious gas bubbles you worked so hard to develop during fermentation. Instead, gently stretch the dough with your hands, working from the center outwards, leaving a slightly thicker rim for the cornicione (the puffy edge). This preserves the airy texture and creates a more interesting mouthfeel that bursts with the flavor you’ve developed.
These simple shifts, particularly embracing cold fermentation and paying attention to flour quality and gentle handling, transformed my pizza from ‘okay’ to ‘outstanding.’ You don’t need a wood-fired oven to make truly flavorful pizza; you just need patience and an understanding of your ingredients.
Frequently Asked Questions
Q: Can I use instant yeast for a flavorful crust, or do I need fresh yeast?
A: Instant yeast works perfectly fine! The key to flavor development isn’t the type of yeast, but rather giving the yeast (and natural enzymes in the flour) ample time to work, especially through cold fermentation. You can achieve excellent results with instant yeast by using smaller quantities and longer fermentation times.
Q: What’s the ideal hydration level for a flavorful pizza dough?
A: A good starting point for hydration (water as a percentage of flour weight) is 60-65%. Higher hydration (70%+) can lead to a more open, airy crumb, but also makes the dough stickier and harder to handle for beginners. Experiment within this range to find what works best with your flour and comfort level.
Q: My crust always comes out dense. What am I doing wrong?
A: Density often stems from two main issues: insufficient fermentation time (not enough gas production to create an airy structure) or overworking the dough during shaping. Make sure you’re allowing for proper bulk fermentation and then gently stretching the dough by hand, rather than using a rolling pin, to preserve the gas bubbles.
Q: How do I store leftover pizza dough?
A: For best flavor development, divide your dough into individual portions after bulk fermentation, shape into tight balls, lightly oil them, and store in individual airtight containers in the refrigerator for 1-3 days. You can also freeze dough balls for up to 1-2 months; thaw in the fridge overnight before using.
Q: Is a pizza stone or steel necessary for a good crust?
A: While not strictly necessary for flavor development, a pizza stone or steel is crucial for achieving a crispy, well-cooked crust. It provides intense, even heat to the bottom of the dough, mimicking a professional pizza oven. Without it, your crust might remain soft or undercooked on the bottom, even if the top is browned.
Written by Mark Jenkins
Practical Skills & Decision-Making
A veteran journalist known for his ability to research thoroughly and present information clearly and concisely.
You Might Also Like
Why Your Homemade Sauces Are Thin and Lackluster (And The Pro Secrets for Rich, Velvety Perfection Every Time)
Transform watery, bland sauces into rich, velvety masterpieces. Discover the pro secrets chefs use for incredible depth and texture.

Why Your Homemade Pizza Crust Lacks That Perfect Chew (And The Simple Pro-Secrets That Deliver Pizzeria-Quality Results)
Stop making bland, cracker-like pizza crusts. Discover the pro secrets to a chewy, flavorful homemade pizza that rivals your favorite pizzeria.
Why Your Homemade Pizza is Bland (And The Flavor Secrets That Changed Everything For Me)
Discover why your homemade pizza lacks flavor and the simple, impactful techniques that deliver pizzeria-quality taste every time.